Galen Framework - Getting Started
In previous post, I mentioned that we can use Galen for automated lay out testing. Galen offers a simple solution to test location of objects relative to each other on the page. Galen is implemented using Selenium Web driver. Hence we can use it for normal functional automation testing as well.
Documentation of Galen
- Galen has its own domain specific language to define Specs. Detailed documentation can be found here.
- Galen has its own javascript API which provides a list of functions which make writing test cases easier. Detailed documentation can be found here.
- Galen pages javascript API is light weight javascript test framework. Details are available here.
- Details of galen test suite syntax are here.
- Galen framework has a detailed documentation of its usage and functions here.
Installation
Below are high-level steps to help you get started.
- Ensure Java is installed. Galen needs Java version above 1.8
- Download binary from http://galenframework.com/download/
- Extract the zip file
- Add the location of extracted files to PATH environment variables. A detailed guide for older versions of Windows is available here.
- Alternatively, on Windows , you can create a bat file to run Galen by changing Path on the fly. Details are in below steps.
Setting up Galen Framework
There are different framework available for testing responsive design based on Galen. Galen bootstrap is one of such framework which can be reused.
- Download and extract the project from Github. Keep relevant files only. You can remove
- Create an
init.jsfile to loadgalen-bootstrap/galen-bootstrap.jsscript and configure all devices and a website URL for testing. URL mentioned below is an example of responsive web design template.
1 2 3 4 5 | |
Note: Uncomment the lines above. Octopress blog engine was throwing error when it tries generate post.
- Run
galen configfrom the command line with the project directory. This will create Galen config file in the location where the command is run.

- Modify galen.config file to make chrome as default browser and add path to chrome driver. There are other useful configs like range approximation, screenshot, selenium grid etc in the config.
1 2 | |
- Create a folder named
Testfor keeping test cases and create test filesexample.test.js. Copy below content toexample.test.js. Make sure to update the relative location of the init.js file created in previous steps. Below content loads init.js file which lists out website URL, device sizes that need to be tested.It then calls a function to test on all devices. Check layout is one of the available javascript API function.
1 2 3 4 | |
- Create a folder named
specsand create a spec file namedhomepage.gspec. We need to update the specs with layout checks . Below is the sample spec for checking image and section intro for the sample URL from init.js. First section defines the objects and its identifier. Second section says that on desktop, image will on left side of section intro and on mobile and tablet, it will be above section intro
1 2 3 4 5 6 7 8 9 10 11 | |
- Now create a bat file in the main folder to run the galen test cases. Make sure to give relative paths to test file, configs, reports correctly. Modify Path variable to include path location to galen bin. This is not needed if we manually set pah while installing. However, I prefer to have galen bin files as well in source control and point the path to that location so that we don’t have any specific dependency outside the project.
1 2 | |
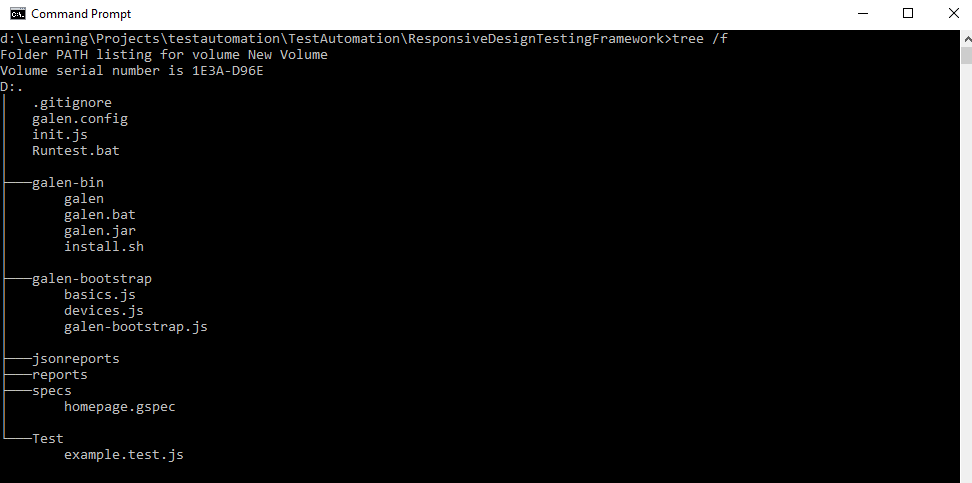
once all files are created, folder structure will look like below
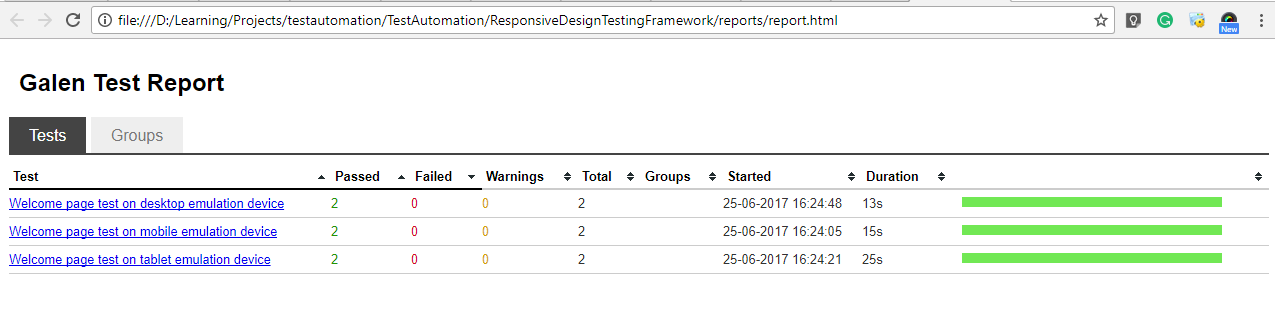
- run the bat file created above. This will ideally run example.test.js file which invokes chrome driver, navigate to the URl, resizes the browser and then check for the specs.It will list out the results in command prompt. Once it completes are all test execution, it creates both HTML report and JSON report in corresponding folder location mentioned in bat file. Below is a sample HTML report, which is self-explanatory.
Main report
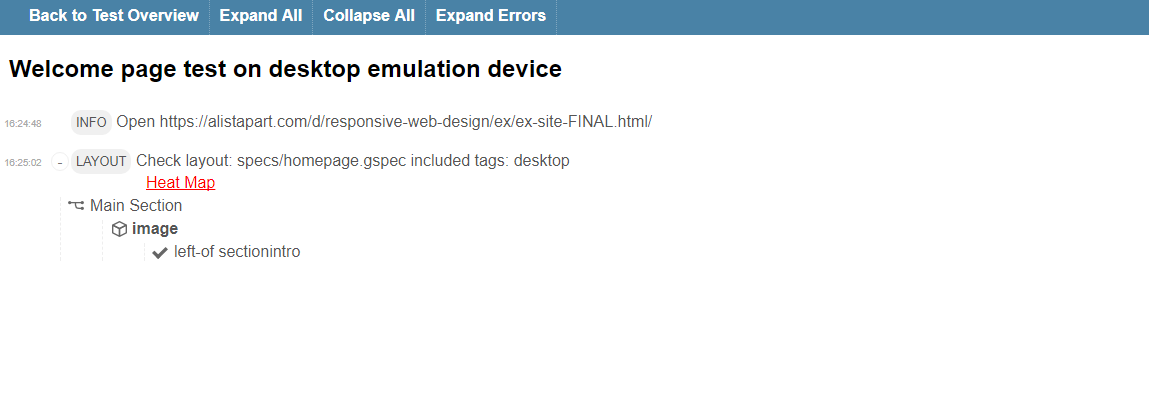
If we expand the result for desktop emulation, it will look like below.It will list down each assertion made and indicate whether it is passed or failed.
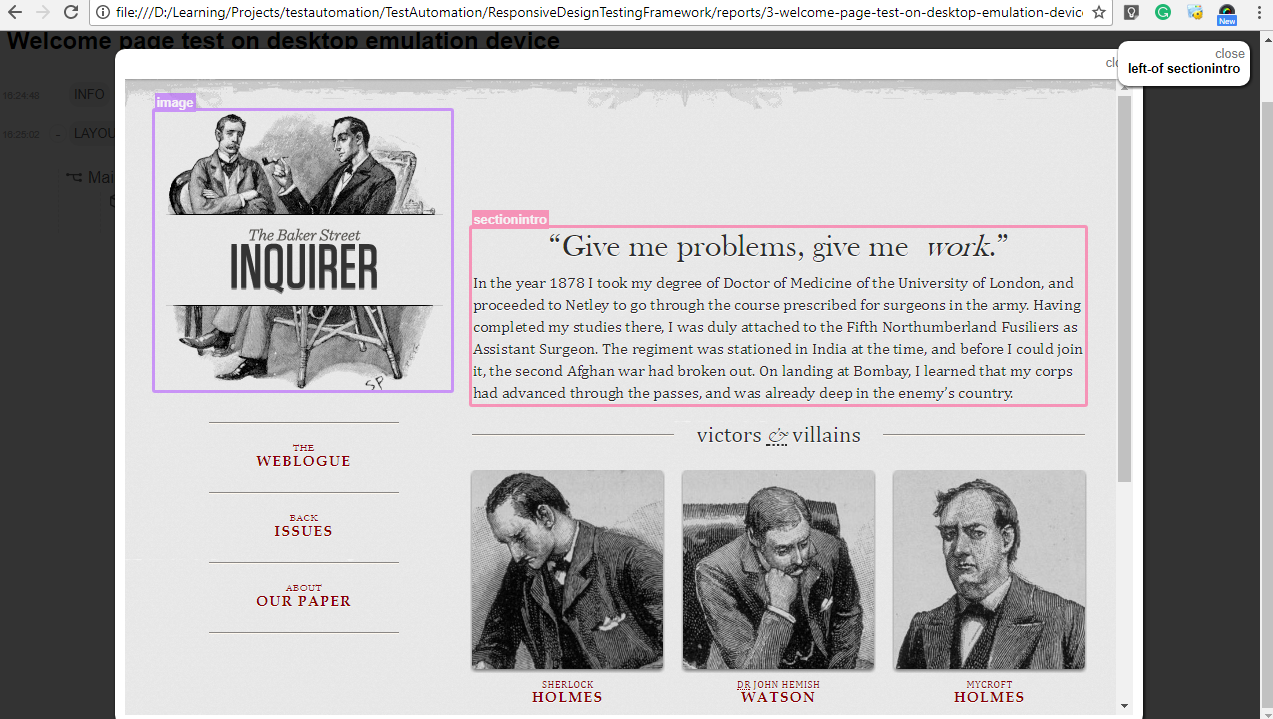
If we click on the assertion point, it will show the screenshot taken for that assertion by highlighting the objects which will help for easier verification. Below screenshot shows that image is on left side of section intro as defined in spec file.